Bread dhokla Recipe is a very soft dhokla prepared using bread, yogurt, and semolina. It is very easy to make and gives a good break from the regular dhoklas we make using semolina or gram flour or rice and lentils. It makes a great tiffin or lunch box option. It can also be made as a party appetizer.
Bread dhokla uses bread, semolina, and yogurt. I have used regular white bread. You may make it with the brown one, but then you know you will have to compromise the taste and texture of bread dhokla. Yogurt… should be well whisked and should be fresh. I have flavored the dhokla with some ginger. For the tempering, I have added cumin, mustard, sesame seeds and green chilies, followed by garnishing of coriander.
1. Grind bread slices : Break bread slices and put in a grinder. Grind to a coarse mix.
2. Mix all other ingredients for dhokla except fruit salt : Put ground bread slices in a mixing bowl. Add ½ cup semolina, salt to taste, ¼ tsp turmeric powder, 1 tsp ginger paste, 2 tsp oil, ¾ cup yogurt and ½ cup water. Mix everything.
3. Let the batter rest, thereafter add fruit salt : Leave the batter to rest for 15-20 minutes. After that, add 1 tsp fruit salt and mix well.
4. Steam bread dhokla : Pour the batter in a greased pan and put the pan in the steamer for 18-20 minutes. Check after 18 minutes by inserting a knife or toothpick. It should come out clean and if there is batter on it, steam it further for 2-3 minutes. Once done take it out. Let it cool down. Then cut into pieces.
5. Prepare tempering : Heat 2 tsp oil. Add ½ tsp mustard seeds and ¼ tsp sesame seeds. Add ½ tsp cumin seeds. Add a pinch of asafetida. Add the handful of curry leaves. Add 1-2 slit green chilli.
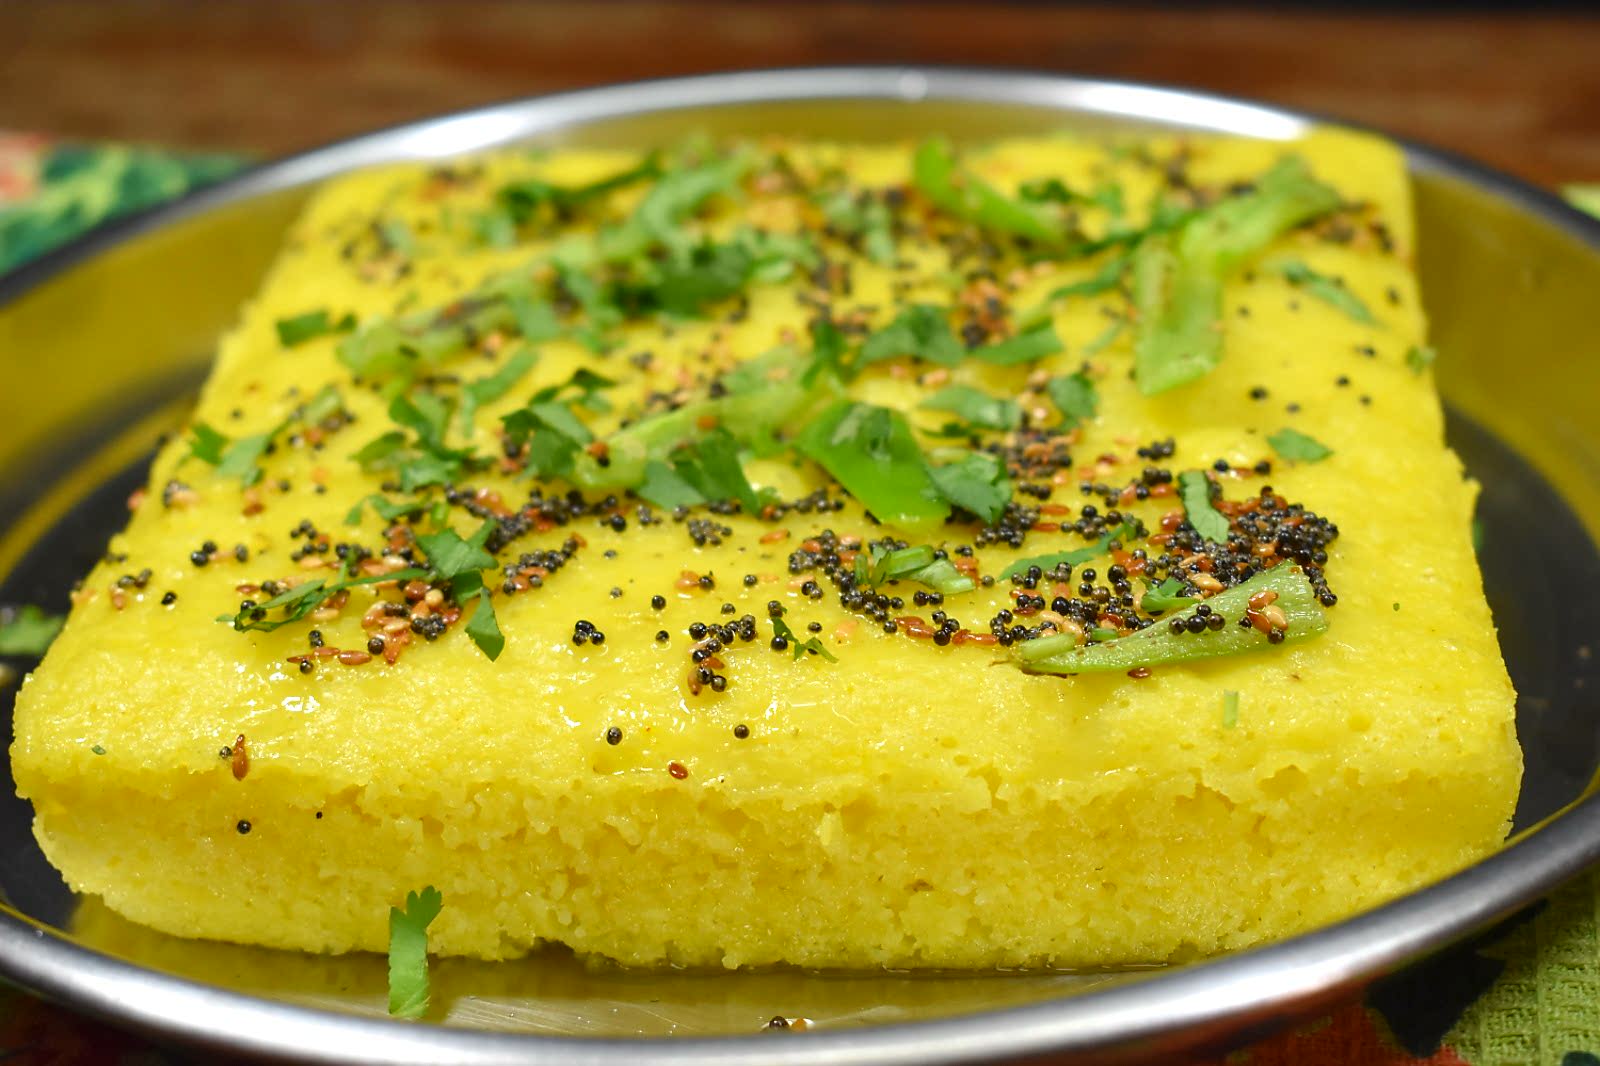
6. Add tempering on dhokla : Once the tempering is ready, pour it hot on the ready dhokla.
7. Garnish : Garnish with chopped coriander.

8. Bon appétit : Enjoy bread dhokla with green chutney.

PREP TIME 20-30 minutes
COOK TIME 20 minutes
TOTAL TIME 40-50 minutes
For the tempering:
For Garnishing:

1. Grind bread
Break bread slices and put in a grinder. Grind to a coarse mix.
2. Mix all other ingredients for dhokla except fruit salt
Put ground bread slices in a mixing bowl. Add ½ cup semolina, salt to taste, ¼ tsp turmeric powder, 1 tsp ginger paste, ¾ cup yogurt and ½ cup water. Mix everything.
3. Let the batter rest, thereafter add fruit salt
Leave the batter to rest for 15-20 minutes. After that, add 1 tsp fruit salt and mix well.
4. Steam dhokla
Pour the batter in a greased pan and put the pan in the steamer for 18-20 minutes. Check after 18 minutes by inserting a knife or toothpick. It should come out clean and if there is batter on it, steam it further for 2-3 minutes. Once done take it out. Let it cool down. Then cut into pieces.
5. Prepare tempering
Heat 2 tsp of oil. Add ½ tsp mustard seeds and ¼ tsp sesame seeds. Add ½ tsp cumin seeds. Add a pinch of asafetida. Add handful of curry leaves. Add 1 slit green chilli.
P.S. Yes I was out of curry leaves, so you don’t see them in the picture. Smart readers!!
Tip: If you feel dhokla is dry add 2-3 tbsp water in the tempering along with a pinch of salt and ¼ tsp sugar.
6. Add tempering on dhokla
Once the tempering is ready, pour it hot on the ready dhokla.
7. Garnish
Garnish with chopped coriander.
8. Bon appétit
Enjoy bread dhokla with green chutney.

Please rate us and share your valuable feedback


Visitor Rating: 5 Stars