mint tea

Mint Tea Recipe | How to make Fresh Mint Tea

What is Mint tea?

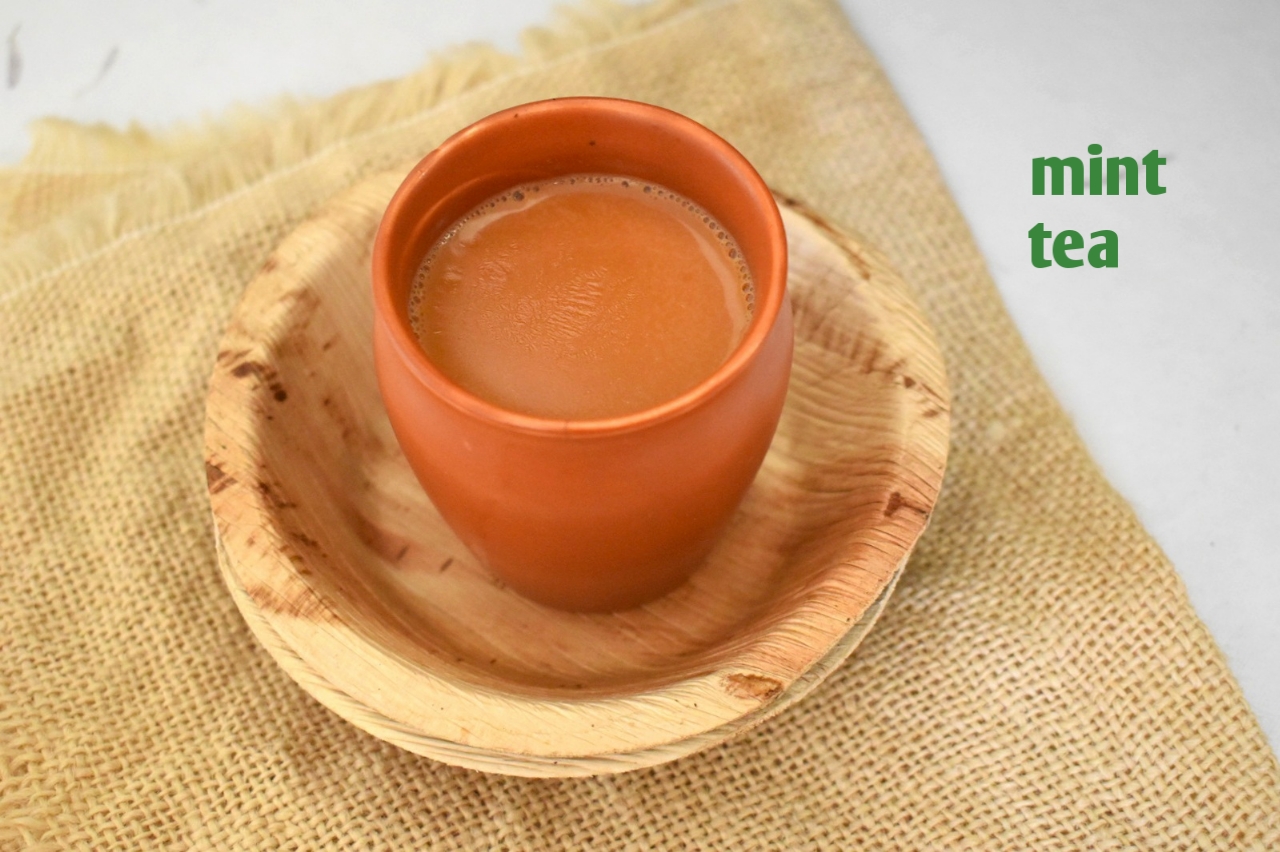
Tea with added flavours and refreshment is mint tea. Chai is one of the most popular Indian recipes. Generally, tea is a combination of milk, water, tea powder and sugar. It is flavoured in many ways. One of which is by using mint leaves. Mint complements tea very well and gives it a better sip. There are several health benefits of mint and therefore -mint recipes are quite popular. Mint tea is so perfect for a summer’s morning or noon tea.

Let’s talk about the ingredients for Mint Tea:

Mint aids in digestion and not to miss it has a very refreshing flavour. I like to use it in many pudina recipes. Even tulsi tea is very popular in India. Herbal teas are liked by many people. I, however, prefer milk tea. As is filter coffee to South India, so is chai in North India.

For mint tea following ingredients are required:

Mint: A handful of fresh mint leaves, which have been cleaned and washed thoroughly are used. Mint has a lot of dirt on it and therefore wash it properly. Tearing the mint leaves, instead of chopping or adding whole, adds more flavour.

Milk, water, sugar and tea powder: Other than mint, the ingredients required to make tea are the same and very much customisable. You can use tea bags instead of tea powder.

Similar recipes on the blog:

I am someone who can live on an island with some tea. And therefore, there are plenty of chai recipes on the blog. If I had to pick my favourite it would be masala chai. The masala tea recipe has a perfect balance of flavours. Another summer special tea recipe is gulkand chai. These and many more can be checked here in our collection for chai recipes.

How to serve pudina chai?

Serve it hot with biscuits or snacks.

How to make Mint Tea?

1.This recipe makes 2 cups of mint tea.

mint tea

2.Let 2 cups of water simmer.

mint tea

3.Add in handful of mint leaves, torn.

mint tea

4.Next goes in 2 tsp tea powder and 4 tsp sugar. Let it simmer for 3-4 minutes.

mint tea

5.Add in 1 cup milk. simmer for 3-4 minutes. Strain the tea.

mint tea

6.Serve hot. Bon appetit!

mint tea

Tried this recipe?

Please rate us and share your valuable feedback

Let’s Connect

Recipe Videos

[sbvcytc template="7" layout="fitrows" results_per_page="5" no_of_columns_desktop="1" no_of_columns_tablet="1" grid_thumbnail_size="default" title_font_size="15" title_font_weight="700" enable_description="" enable_hd_tag="" enable_video_length="" enable_video_views="" enable_video_likes="" enable_video_post_time="" enable_social_sharing="" pagination_type="disabled" preview_related="" enable_carousel="" channel_id="UCY9O2iE3fv9vZkacrmre99w" api_key="AIzaSyAXCSUG20XxTmVFUTI3rreWcikoNUel0qg" custom_wrapper_class="videos_page side_bar_video"]

Latest Recipes

About the Author

Author’s Name

Vini

Hi! I am CA Vini Mehta. A Chartered Accountant by profession, a food blogger by passion! First of all, I would like to thank you for stopping by at Viniscookbook, I hope you have a good time. Here, yo...u will find the recipes which have been tried, at times re-tried in my kitchen and relished on the dining table. I am mother of two kids and the wife of a person with a high and selective taste sense, so basically anything, before finding its place on the blog, has many levels to cross and clear. This journey started a couple of years back. Before that I was making the most usual kind of food. The only experiment used to be asking my mother how to make something new or different☺. Then, one day, I tried a recipe for butter cookies. And they did not get to go in the container as they were over before I could store them. That day I was introduced to the joy of experimenting with recipes. And I loved everything else that followed especially garnishing and photographing food. I am still not well versed with the photography dos and don’ts but I love to experiment and learn, be it photography or cooking. Hope you too enjoy this journey as much as I do☺! Stay healthy, stay tuned!.

Trending Recipes

"); newWindow.document.getElementsByTagName("head")[0].appendChild(style); newWindow.document.getElementsByTagName("head")[0].appendChild(style1); newWindow.document.close(); jQuery('.printBlock').show(); } jQuery('.print_btn').on('click',function(){ printData(); })jQuery(document).ready(function () { jQuery("#reletedpostslide").owlCarousel({ margin: 9, nav: true, navText: ["
", "
"], loop: false, navigation: true, touchDrag: true, mouseDrag: false, responsive: { 0: { items: 1 }, 380: { items: 1 }, 480: { items: 1 }, 768: { items: 3 }, 992: { items: 4 } } }) });