
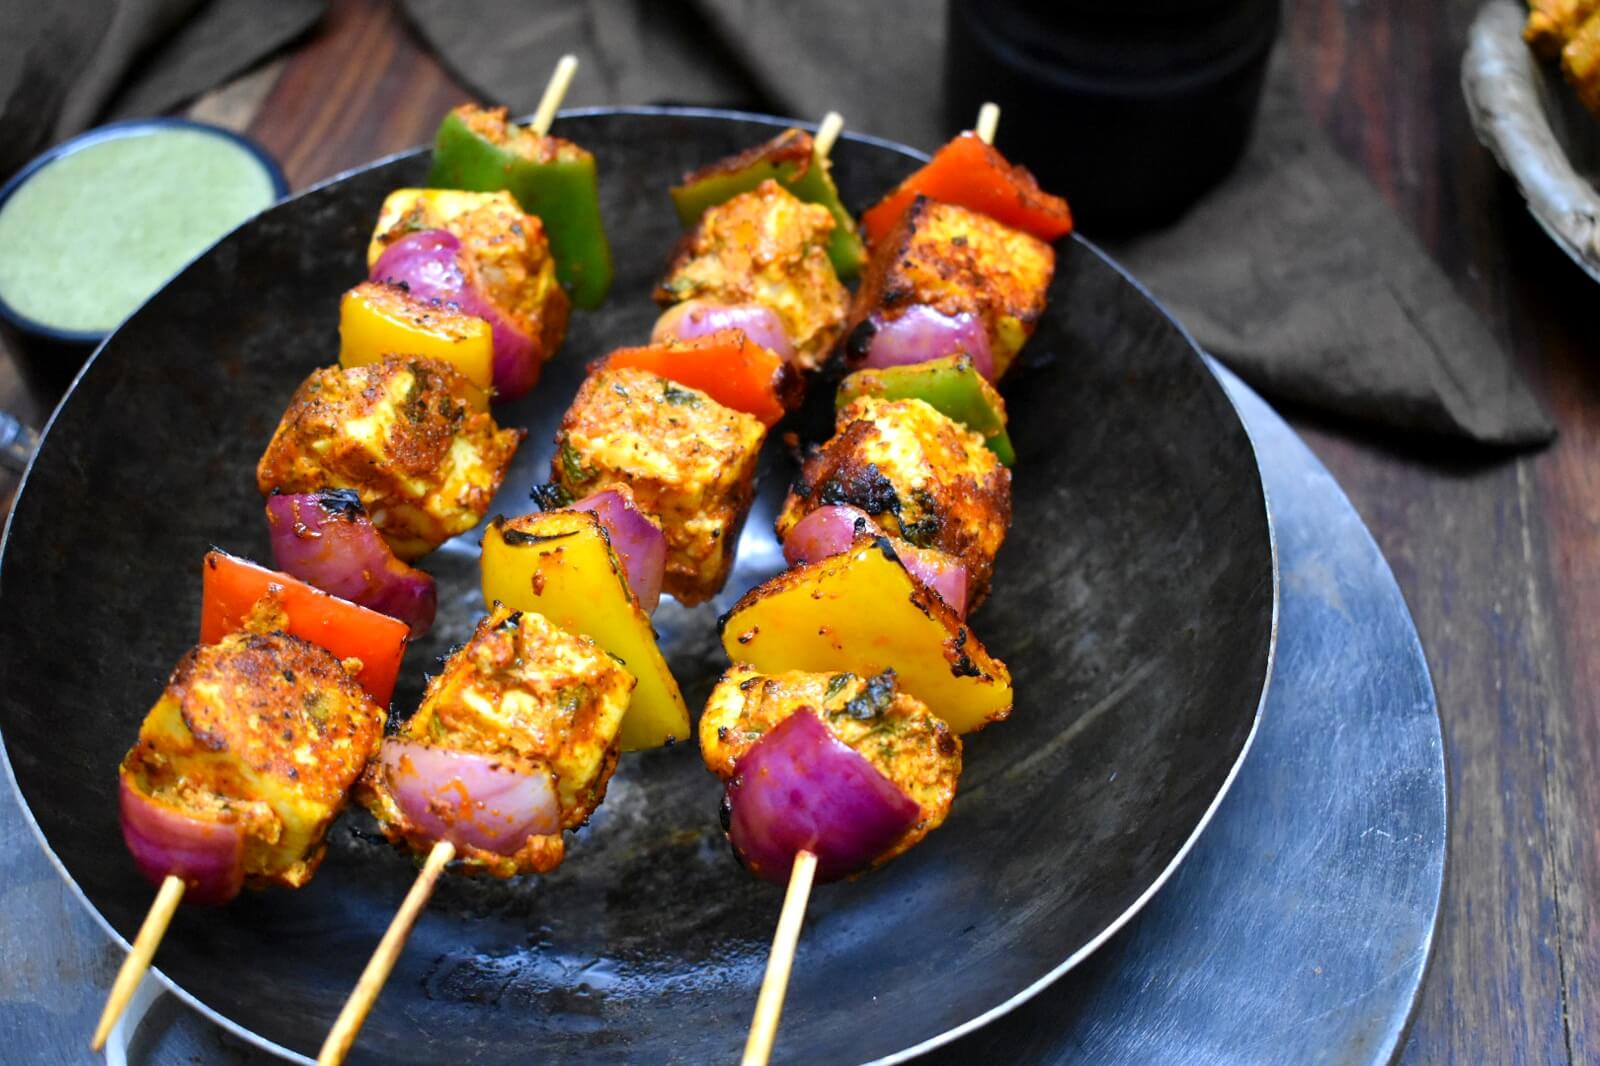
Cubes of cottage cheese along with onions and bell peppers marinated in yogurt and spices and other ingredients, grilled to cook, given the tandoori flavor and charred effect without any tandoor, to make India’s most popular appetizer, paneer tikka! The beauty of this recipe is that taste wise the tikka is very close to the authentic tandoori paneer tikka but has been prepared in the simplest and easiest manner possible. This is such a fuss-free recipe that you don’t think even once to try it at home.
Paneer: I love to use my homemade paneer for this recipe because that paneer is soft yet firm. Addition of cornflour gives paneer a firmness that is essential for paneer tikka, as paneer needs to be marinated, grilled, etc. A lot is happening with the paneer, therefore delicate paneer won’t work.
Vegetables: I have combined paneer with bell peppers, I had green, red and yellow so used them. Along with that onions have been added. You can also add pineapple chunks etc.
Hung curd: Yes, not yogurt, we need hung curd for this recipe. With properly hung curd, you won’t need any gram flour/corn flour to ensure that your marinade sticks to the paneer and veggies. To prepare hung curd line a strainer with a muslin cloth and put ½ cup yogurt in it. Hang it for ½ an hour and thereafter refrigerate for 3-4 hours. You will be left with a ¼ cup of hung curd which is all you need for making paneer tikka with 200 g paneer. You can double or triple the recipe.
Spices: These give the flavors to our paneer tikka. A perfect combination of spices is all that is needed for a perfect paneer tikka. Although the use of tandoori masala could have given a nice zing to the tikka I did not use it because I wanted to make the recipe that can be prepared with the easily available spices.
We have a collection of veg starters recipes which includes some melt in mouth soya matar kebabs, very simple yet delish tandoori aloo and many more. This is one of the most viewed collections on the blog. Have a look and don’t forget to bookmark it as we update the same at least once a week.
Paneer tikka can be served as an appetizer with tandoori chutney and lacha pyaaz.
1.This recipe serves 4-5 persons.
2.In a mixing bowl take ¼ cup of hung curd to which add the spices i.e. salt to taste, ¼ tsp black salt, 1 tsp Kashmiri red chili powder, ½ tsp garam masala powder, ¼ tsp black pepper powder, 2 tbsp dry fenugreek leaves, ¼ tsp chaat masala powder, ½ tsp roasted cumin seeds powder and ¼ tsp turmeric powder, ½ tbsp oil and juice of 1 lemon, add in 200 g of paneer chunks along with 1/3 of each green, red and yellow bell pepper, diced and one onion, quartered. P.S. This is the process shot taken for Instagram, follow us there too, if you haven't yet.
3.Mix well; make sure the marinade sticks on the paneer and vegetable pieces.
Tips:If the marinade falls apart add in 1-2 tbsp roasted gram flour to it.
4.Refrigerate for 30 minutes minimum. I kept it for 2 hours.
5.After a couple of hours, put paneer and vegetables in the wooden or metal skewers. If using wooden skewers, make sure to soak them in enough water for at least 15-20 minutes.
6.Heat a tawa/skillet or frying pan. Smear little butter.
7.Place the paneer tikka on hot buttered tawa. Cook from each side one by one for 2 minutes approx. or till brown patches.
8.Thereafter just hold the skewers with a tong and place on the direct flame for the charred effect.
9.If you want the typical tandoori flavor in the tandoori paneer tikka use dhungar technique .
10.Serve hot. Bon appétit!

PREP TIME 15 minutes + 2 hours marination time
COOK TIME 12-15 minutes
TOTAL TIME 30 minutes + 2 hours passive time
For Paneer Tikka:
For Marinade:
For grilling:


Please rate us and share your valuable feedback


