
Sarson means mustard. Saag means gravy preparation. Sarson ka saag is the gravy prepared using mustard greens. However, there is much more to it. Sarson ka saag recipe calls for a number of greens other than just mustard greens. Mustard greens have a very sharp flavor. To balance the sharpness, spinach, bathua, methi, etc are added. The greens of radish are also used. It is not too spicy. Being mildly spiced, it oozes with the flavors of the greens that are used. It is slow-cooked to get the most of it. Not many spices are used. Sarso ka saag recipe uses fresh ingredients such as ginger, garlic, and chilies, etc. Saag recipe is more about preparation time and cooking time. The greens need to be cleaned and washed very properly. Further in this sarso ka saag recipe, the saag has been slow-cooked instead of pressure cooked. Because this is how we make it, this is how I have always seen my grandmom and my mom making it. The sarson ka saag recipe is a very easy and simple recipe with enough preparation time and cooking time.
Sarson ka saag is a very popular winters’ delicacy from North India. Saag recipe belongs to the Punjabi cuisine and is called sarson da saag. Being a Punjabi I have the memories of sarson da saag being prepared by my grandmom. It used to be a day-long process. And we would wait eagerly for the dinner time to relish sarson ka saag makke ki roti.
Onion Tomatoes: Onions and tomatoes are added to give body to the saag as well as to balance the pungency of mustard greens.
Ginger, garlic and green chilies: These fresh ingredients add some heat to the sarson ka saag.
Spices: The basic spices i.e. red chili powder, coriander powder, turmeric powder, etc have been used.
Mustard Greens (sarson): This is the main ingredient for the sarso ka saag recipe.
Spinach (palak) and Bathua: These two greens are also used for balancing the flavors. The important thing is the ratio of these greens. Sarson, palak, and bathua need to be added in the ratio of 2:1:1. A handful of radish leaves (leaves of 1 radish to be precise) and a handful of fresh methi is also added.
Other Veggies: Turnip i.e. shaljam is also added while making the sarson ka saag.
Oil: Well, here we do it a bit un-traditionally. Traditionally ghee is used to temper the sarson ka saag. This sarson ka saag recipe uses mustard oil. It brings together all the flavors and really compliments the flavor of mustard greens.
Other ingredients: Maize flour (makke ka atta) and jaggery are also added. Makke ka atta gives some thickness to the saag and jaggery reduces the sharpness of mustard greens and oil.
This is a one-pot sarson ka saag recipe. Once the preparation is done, no more efforts are needed. Just put everything in a large pot and let it simmer till absolutely cooked and soft. All the ingredients are cooked with mustard oil. And therefore there is no need for a separate tempering which is generally done to finish the sarson ka saag recipe. The cooked veggies are then blended using a hand blender or you can also pass it through a grinding jar. Blender is a much better option. I like to keep it coarse and that’s the way it should be. Traditionally a wooden spatula called madhani was used to blend it which would give a coarse texture. However, you can grind it smooth if you like it so. The ground or blended mixture is then cooked for an hour up to four.
If you are short of time, you can make the sarson ka saag by cooking the greens along with other ingredients in a pressure cooker till everything is cooked. Thereafter just blend it and cook it again for 20-25 minutes in a pan.
Sarson ka saag should have the flavors of the greens, mustard green predominantly. No spices or other ingredients should dominate the taste of the greens. Perfect cooked and coarsely blended saag is perfect sarson ka saag. Following points should be kept in mind:
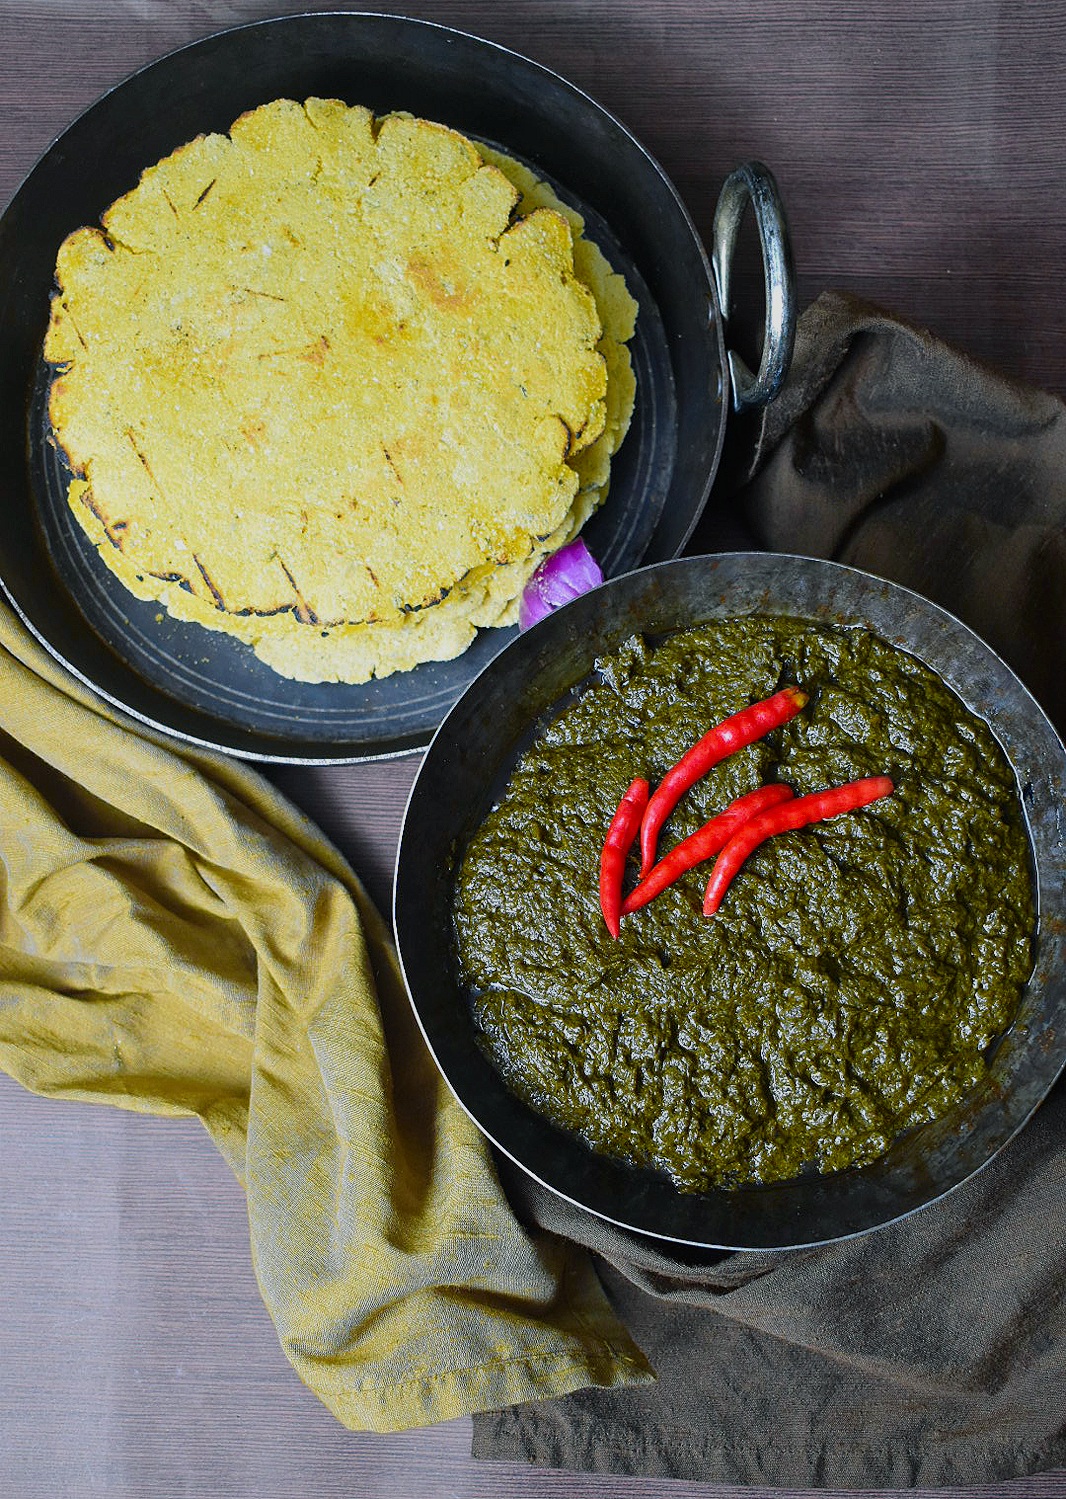
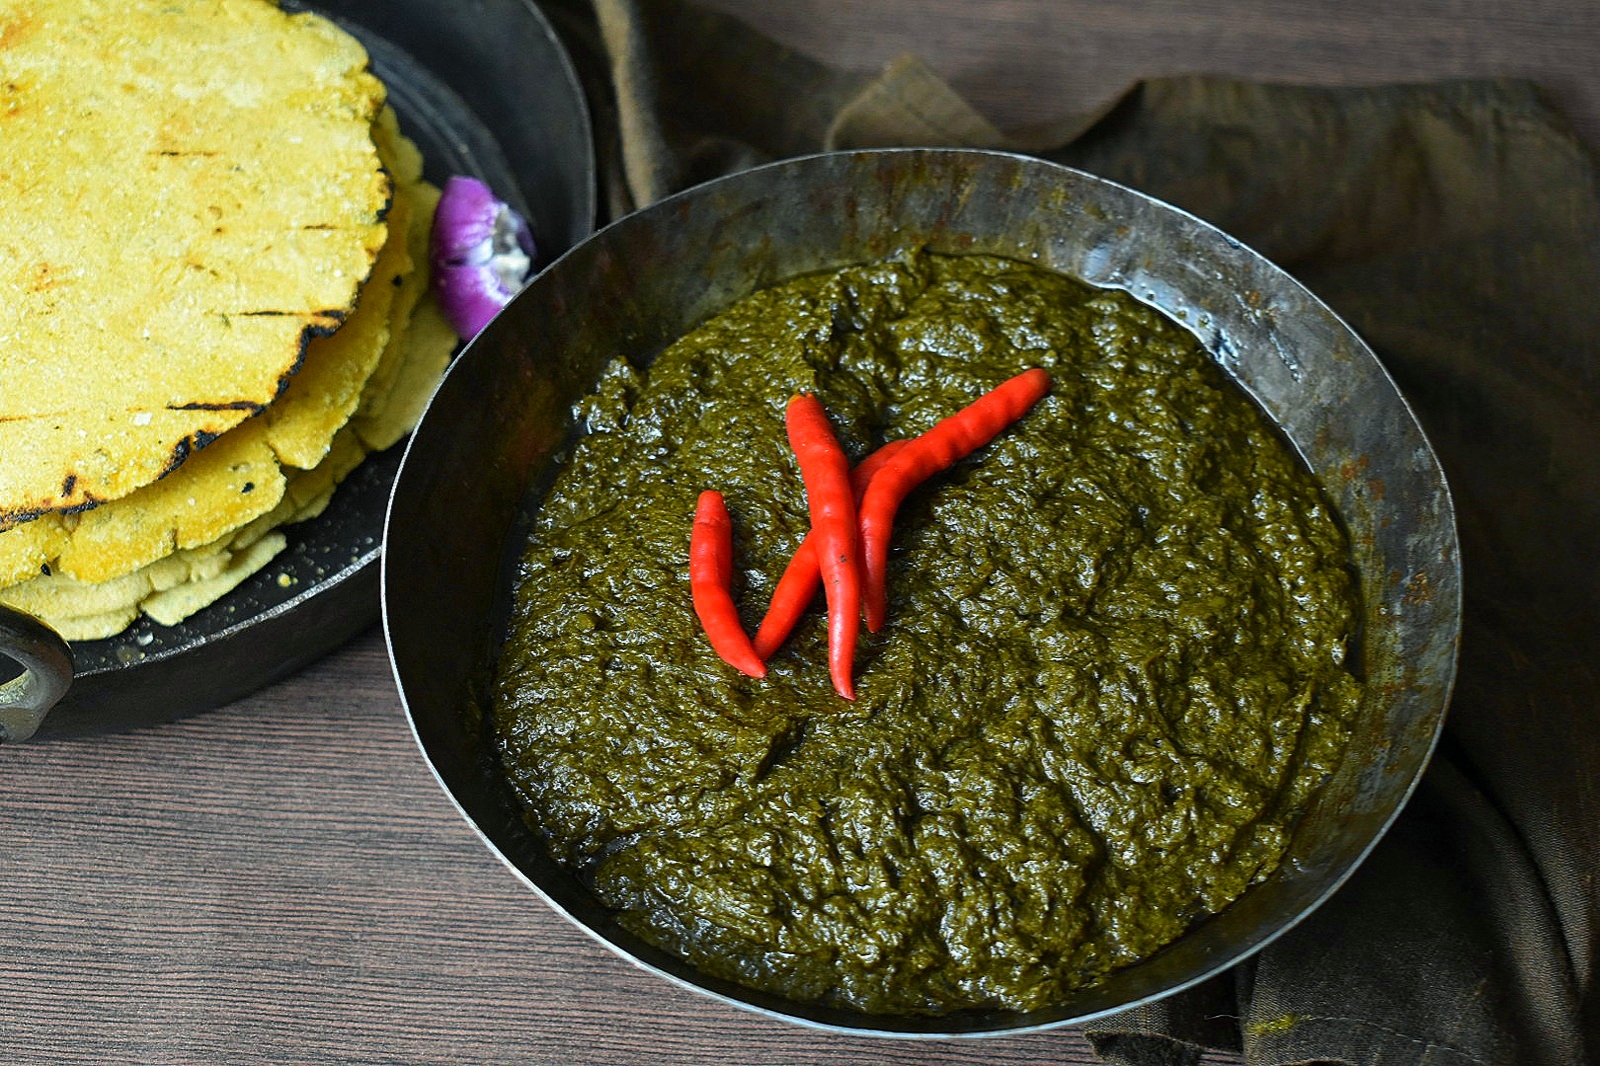
Sarson ka saag has so many accompaniments. The essential one being makke ki roti smeared with white butter. Top the saag too with white butter and serve with makke di roti along with radish, jaggery, onions, chilies, buttermilk, etc.
1.This recipe serves 7-8 persons.
2.In a large pan add ¼ cup mustard oil, followed by 2 chopped onions, 2 chopped tomatoes, 2 inches of chopped ginger, 10-12 garlic cloves, 2 chopped green chilies, ½ bunch each of spinach (palak) and bathua, a handful of fenugreek leaves (methi), salt to taste, 1 tsp red chili powder, 1 and a ½ tsp coriander powder and ½ tsp turmeric powder and 1 chopped turnip (shaljam).
3.Next goes in the2 bunches of mustard greens (sarson) and leaves of 1 radish (mooli).
4.Add in ¼ cup of makke ka atta.
5.Also add in 1 tbsp of jaggery.
6.Mix everything well.
7.Cook for a good 60 minutes or so till the veggies are absolutely cooked and soft.
8.Blend everything to the desired consistency.
9.Continue to slow cook for another hour or up to 4 hours. Check and adjust the seasoning and consistency.
10.Serve hot.

11.Bon appetite!
PREP TIME 30 minutes
COOK TIME 2 hours - 4 hours
TOTAL TIME 2 hours 30 minutes - 5 hours


Please rate us and share your valuable feedback


Visitor Rating: 5 Stars