
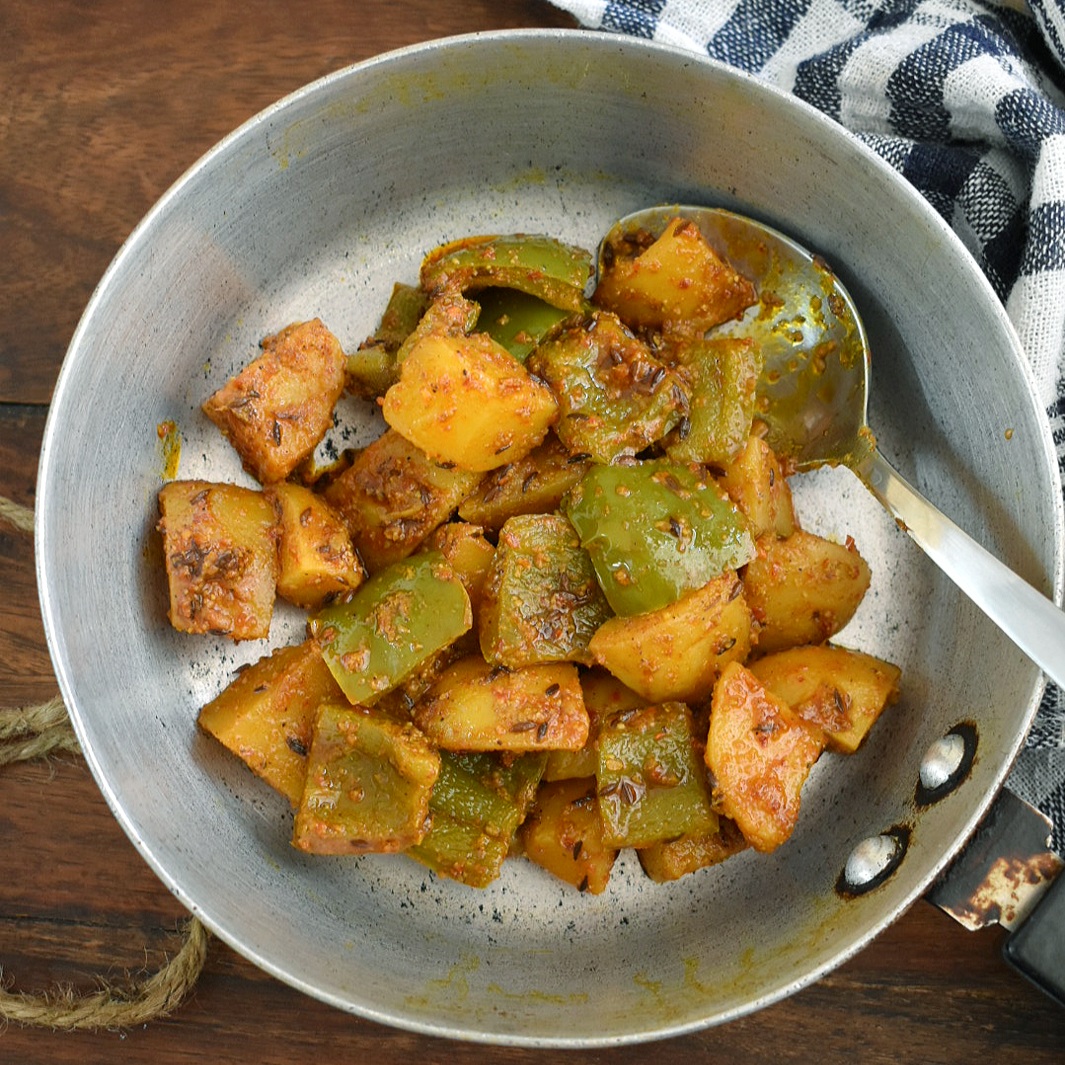
Aloo Shimla Mirch ki Sabji with step by step pictures: A simple side dish prepared with potatoes, capsicum and a few commonly used spices, is called aloo shimla mirch ki sabji. Cubed potatoes and capsicums are sautéed and cooked with a few spices to make a perfect dry dish to be served with parathas or side dish to be served with dal chawal etc. This recipe does not call for any onions, tomatoes, etc. It can be prepared very quickly and easily. It is important to cook both the vegetables to perfection. Potatoes take longer to cook as compared to capsicum. Therefore I like to cook the potatoes till almost done and then add the capsicums. This way capsicum maintains it bite and potato is cooked to perfection. Aloo shimla mirchi ki sabji can be prepared be served for lunch or can be packed for lunch box too.
Potatoes: You can use whichever potatoes are available. Potatoes need to be boiled, peeled, and cut into cubes to make aloo shimla mirchi ki sabji.
Capsicum: I have used green bell peppers and I believe only green bell pepper do justice to the aloo shimla mirchi ki sabji. I have never tried this recipe with yellow and red bell peppers. The capsicums should be washed and cut into cubes. Do not cut these too small or they will lose the bite.
Spices: The most basic Indian spices have been used to make the aloo shimla mirchi ki sabji i.e. red chili powder, coriander powder, turmeric powder, salt, and dry mango powder. However black pepper powder and fennel seeds (saunf) powder have been added for the extra flavors.
Oil: You can use the regular flavorless oil for cooking. I prefer to use mustard oil for cooking. In case you plan to use mustard oil make sure to heat it up to the smoking point. Let it cool down. And then proceed with the recipe.
Side dishes are such an important part of Indian meals. There are a number of side dishes on the blog. The most popular one has to be jeera aloo. Every household has its recipe for jeera aloo recipe but I would like to have a look at this recipe. It gives an absolutely delish jeera aloo. Other than this, you might also like arbi ki sabji, cabbage thoran, etc.
Serve it with plain paratha and boondi raita for a simple weekday lunch.
1.This recipe serves 2-3 persons.
2.In a pan heat 2 tbsp of oil.
3.Add 1 tsp cumin seeds (jeera). Let it splutter well.
4.Add in 3 potatoes cut into cubes.
5.Add 2 tsp coriander powder, 1 tsp fennel powder, 1 tsp red chili powder, ¼ tsp turmeric powder, and salt to taste.
6.Mix everything well.
7.Add in 1 tbsp of water.
8.Cover and cook on low flame.
9.Place some weight on the top of the cover of the pan. Also place a skillet under it.
10.After 3-5 minutes, check the potatoes, it should be almost cooked. The cooking time of the potatoes depends on the quality of the potatoes and might vary.
11.Add in 2 medium capsicums cut into cubes.
12.Mix well.
13.Cover and cook on low flame for 3-5 minutes.
14.The capsicum should be cooked till just cooked. At this point add ½ tsp dry mango (amchur) powder and ½ tsp black pepper (kali mirchi) powder. Mix well and cook for a couple of minutes.
15.Serve. Bon appetite!

PREP TIME 10 minutes
COOK TIME 15 minutes
TOTAL TIME 25 minutes


Please rate us and share your valuable feedback


